Image - 2026-05-25 11:45
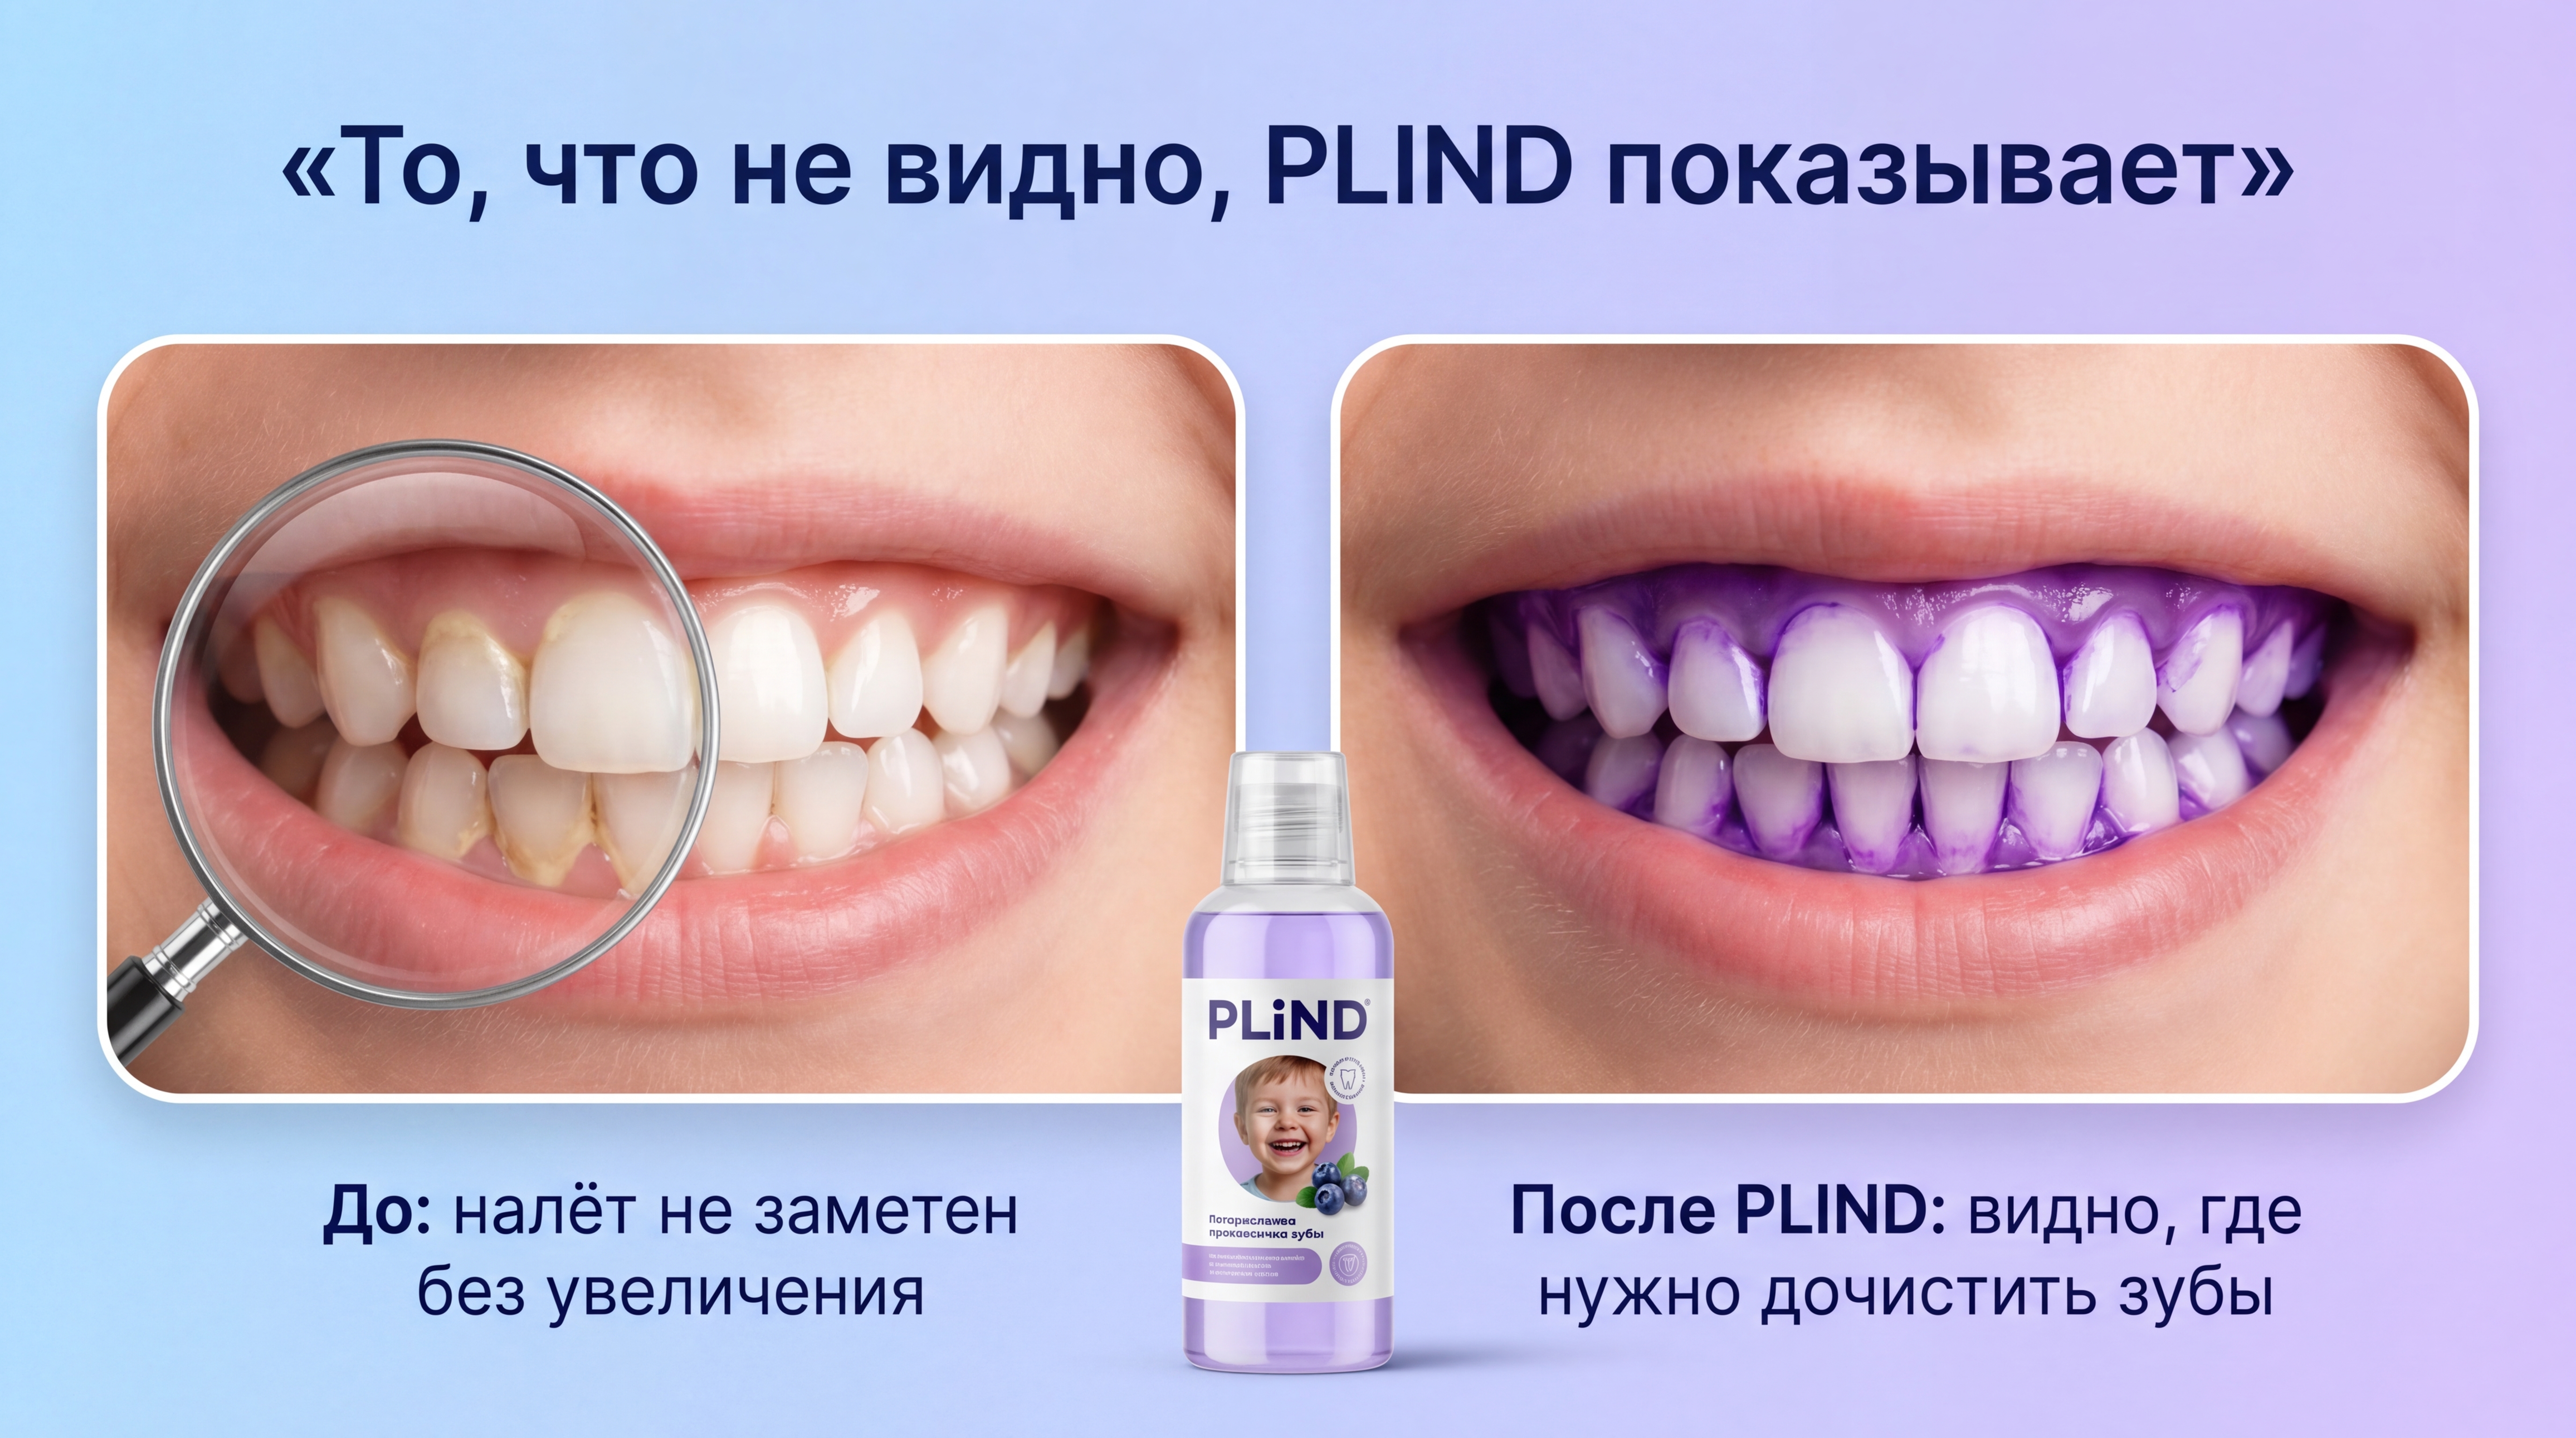
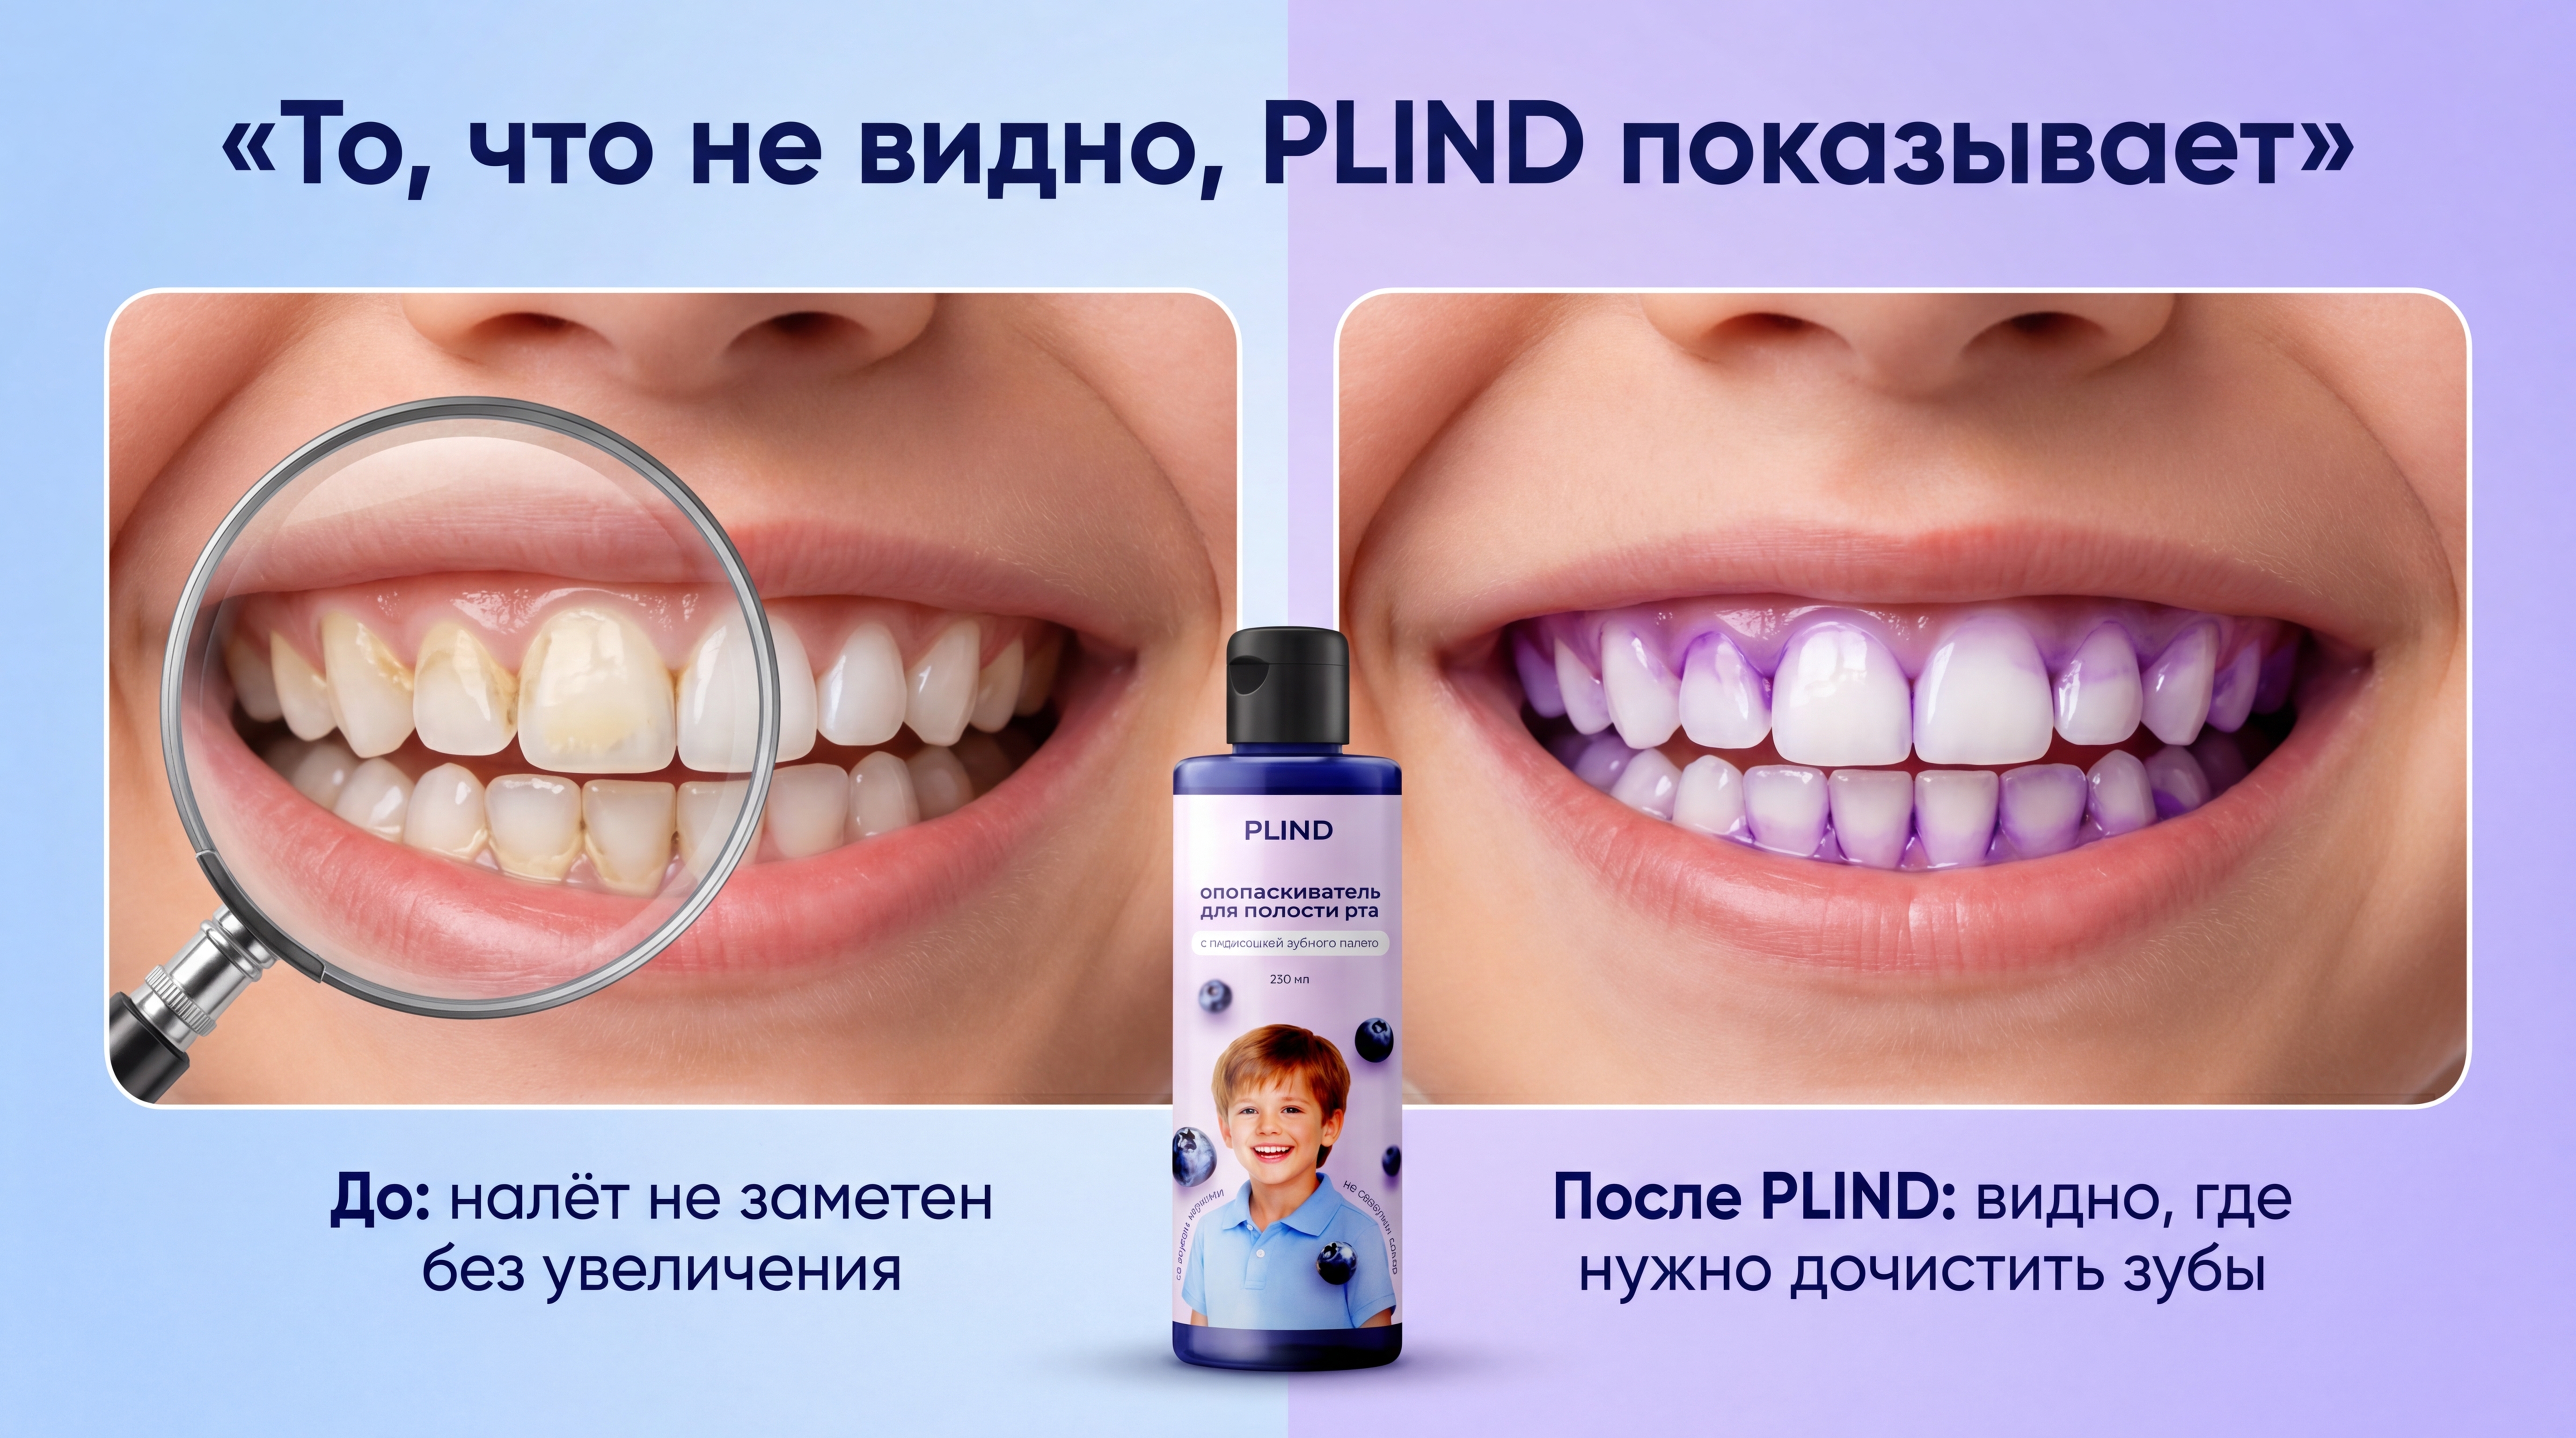
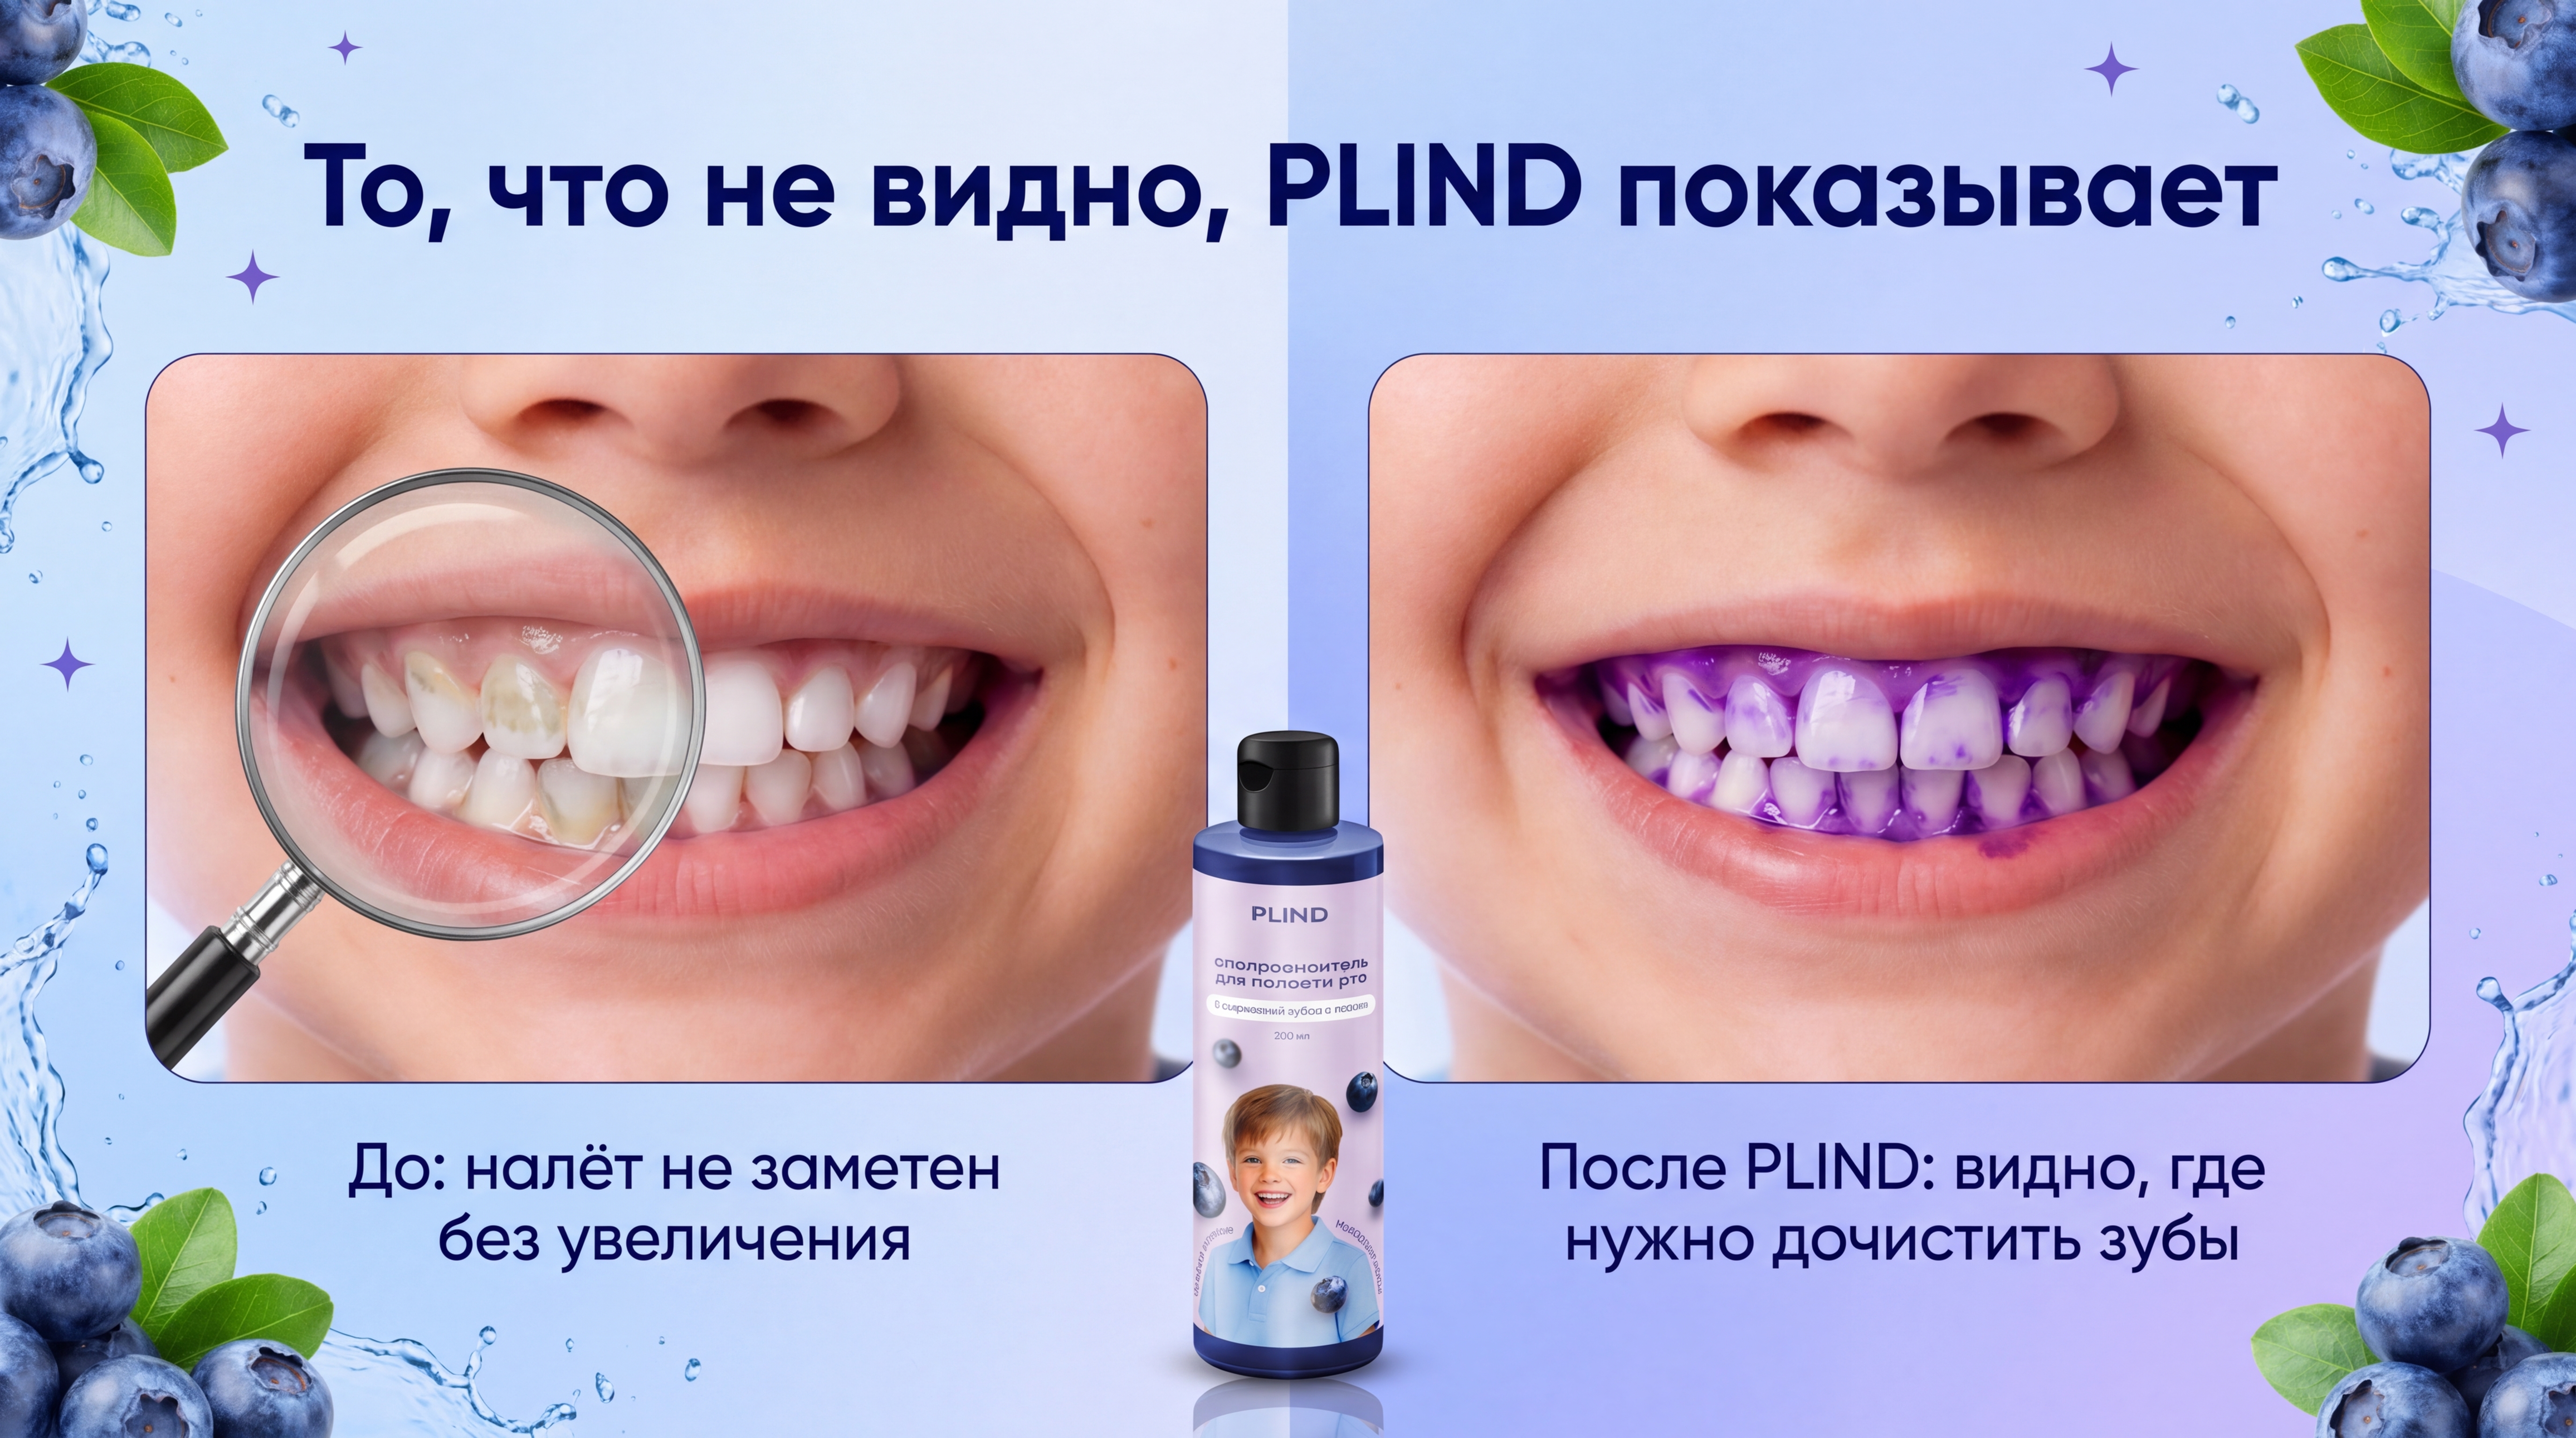
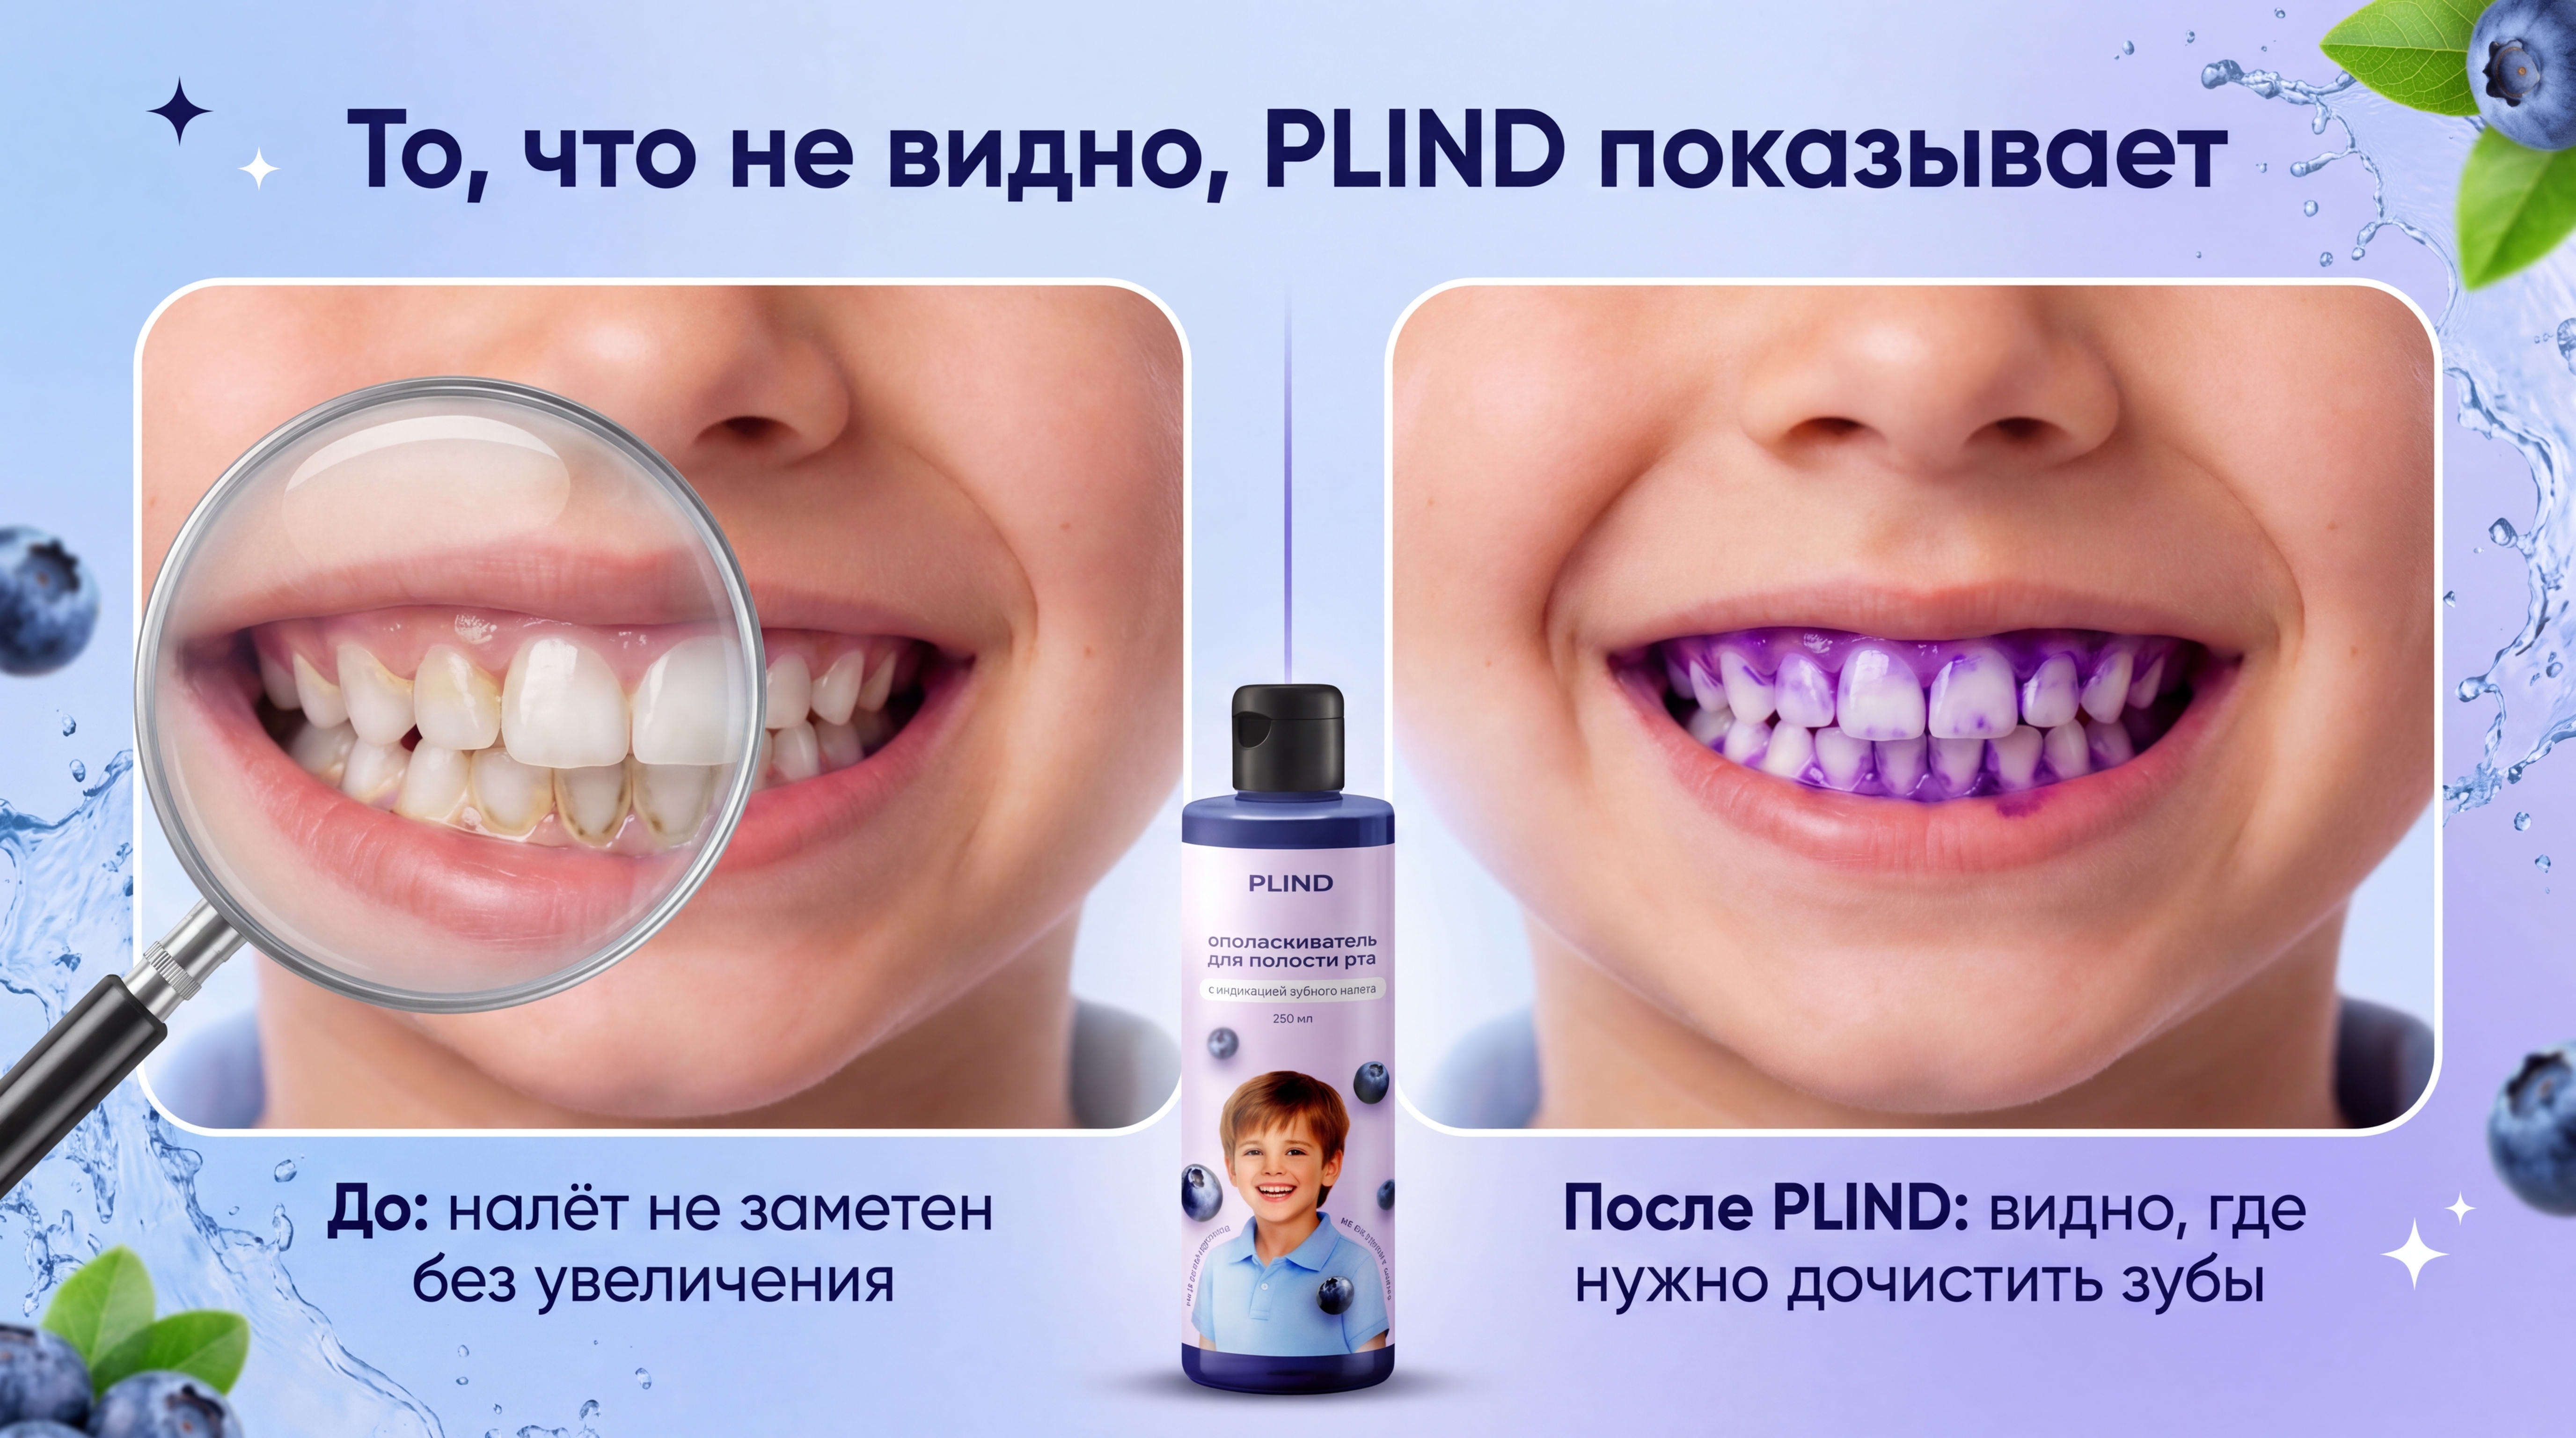
Use my attached PLIND reference photos as the main style guide. Generate a brand‑new high‑resolution horizontal slide (16:9) for a Russian marketplace product page. The slide must look like premium photorealistic rich content for a children’s dental product. Overall concept: a “before / after” comparison showing how a plaque‑disclosing mouth rinse reveals hidden plaque on children’s teeth. Background, layout and text Background: create a smooth, soft gradient from light blue on the left to light lavender / violet on the right, without any hard vertical split. The transition in the middle must be very soft. No strong objects in the exact center of the slide background; keep the center clean so the focus stays on the teeth and bottle. Use rounded‑corner rectangular frames for the left and right smile photos. Top headline, centered across the whole slide, exactly in Russian: «То, что не видно, PLIND показывает» Under the left image add caption: «До: налёт не заметен без увеличения» Under the right image add caption: «После PLIND: видно, где нужно дочистить зубы» Use modern sans‑serif fonts, dark blue colour, as in my PLIND references. Do not add any English words (no BEFORE / AFTER) and no extra text. PLIND bottle (bottom center) Place a realistic PLIND mouth rinse bottle at the bottom center, slightly overlapping the area between the two halves. The bottle must look like a real product photo: tall cylindrical or slightly tapered plastic bottle, transparent or semi‑transparent body with light violet / purple liquid inside, transparent or semi‑transparent cap, white and lavender label with large dark blue “PLIND” logo, small photo of a smiling child, blueberries illustration and Russian text. Do not redesign or simplify the bottle; it must look like a real commercial product, not a generic mouthwash. LEFT SIDE — BEFORE (small magnifying glass + natural plaque) Goal: to the naked eye teeth look clean, but under a small magnifying glass natural yellow‑beige plaque becomes clearly visible. Show a close‑up of a child’s smile (no eyes), slightly turned to the right. Lips parted, upper and lower front teeth visible, healthy pink gums and natural skin tone. Lighting must be soft and neutral. Magnifying glass: Draw a realistic circular magnifying glass with a thin metallic rim and transparent glass. Make the magnifying glass noticeably smaller than the width of the mouth: it should cover about one third of the visible teeth area. Place the magnifying glass over the left part of the smile (from the viewer’s perspective). The entire right part of the teeth must stay completely outside the magnifying glass and fully visible. Teeth outside the magnifying glass: All teeth outside the magnifying glass must look clean and white, with no visible plaque or stains. Enamel should be natural white with a slight warm ivory tint, glossy and healthy. To the naked eye the smile should appear well‑brushed and normal. Teeth inside the magnifying glass: Show real, not dyed dental plaque only inside the magnifying glass. Do not use any violet, purple or blue inside the magnifying glass. Plaque colour must be natural yellowish, beige and slightly grey, like soft dental plaque and early tartar. Place plaque mainly along the gumline and between teeth (interdental spaces), especially on upper and lower front teeth under the glass. Do not cover entire tooth crowns; most enamel should remain visible and white. Plaque should look like semi‑transparent films and irregular patches sitting on top of the enamel, not like cracks or caries. The magnifying glass should lightly enlarge the area and make the plaque edges sharp and clearly visible, so the effect of magnification is obvious. RIGHT SIDE — AFTER (strong violet indicator on teeth) Goal: show a strong, clearly visible violet staining of plaque on the teeth after using the mouth rinse. Show the same child’s smile from a similar angle so it obviously feels like the same mouth after treatment. Teeth shape and alignment must look consistent with the left side. Plaque staining: Apply a plaque‑disclosing indicator in violet / lilac tones. Colour only the plaque on the tooth surfaces, not the gums or lips. Focus staining along the gumline and in interdental spaces, where plaque normally accumulates. The violet dye should form a continuous but slightly translucent film on these plaque zones, not just thin contour lines. The overall coverage must be strong enough to look like a clear product demonstration, not a weak or barely visible effect. Leave clean enamel mostly white / ivory with glossy reflections, creating a strong contrast between white tooth surfaces and violet plaque. The pattern of violet staining should logically correspond to typical plaque zones on children’s teeth. Global constraints Overall style: photorealistic, premium, family‑friendly and clean. No cartoon characters, bacteria icons, emojis or extra decorations over the main images. Do not make the scene look dirty or frightening; plaque and staining must be clearly visible but still acceptable for parents and children. The key message must be instantly clear: on the left, teeth look clean, but the magnifying glass reveals natural hidden yellow‑beige plaque; on the right, after using PLIND, that plaque is coloured violet on the teeth, showing exactly where to brush again.

Бесплатный старт · Генерация видео и картинок с ИИ за секунды
More from this creator


More L images
См. все →